It seems that more and more companies are producing pre-painted statues for the fan-boys who hang out at comic shops. It makes sense - pre-paints cost more, therefore the producers make more money. People who don't have the skill or time to build kits get a finished piece right out of the box. Say it is limited and you have an instant seller on your hands!
Where does that leave the kitbuilders? Well, we can complain, but we all know money talks. About the best we can do is pay the higher price and repaint the hideous paint jobs associated with pre-paints.
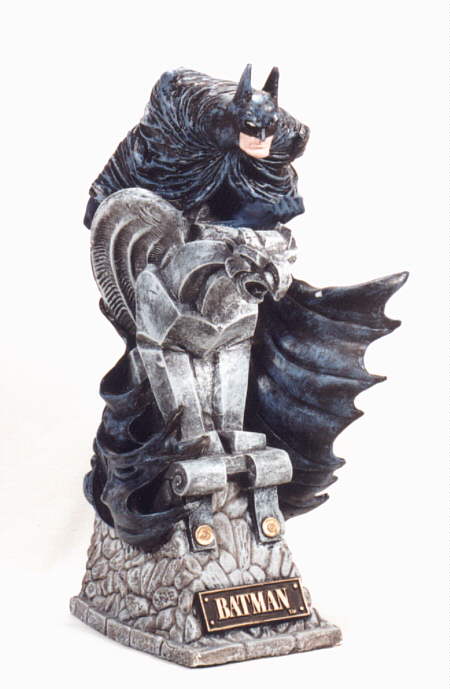
I'll demonstrate using the Randy Bowen Batman that came out a few years ago. (Click on images for enlargements.)
 |
|
Let's start with the original paintjob. Not too bad, but look at that drybrushing! Looks more like a wet brush did this! For this job, I didn't even bother stripping it. I simply sprayed it with Floquil Gray Figure Primer. |
|
 |
|
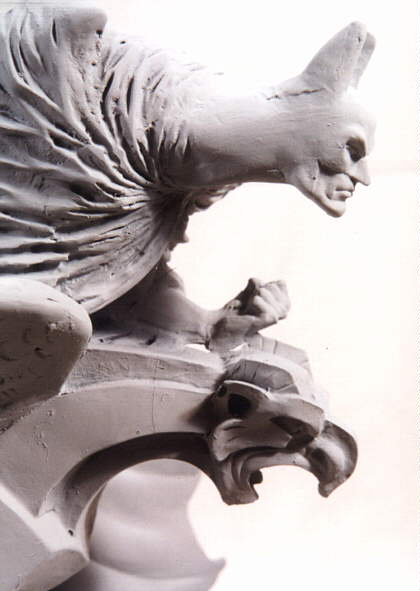
Who says that you can't physically modify a pre-painted statue? Check out the ears on dober-man! Way too big. To remedy this, I got out the Dremel tool and ground those things down. Final touches were accomplished with sand paper. |
|
 |
|
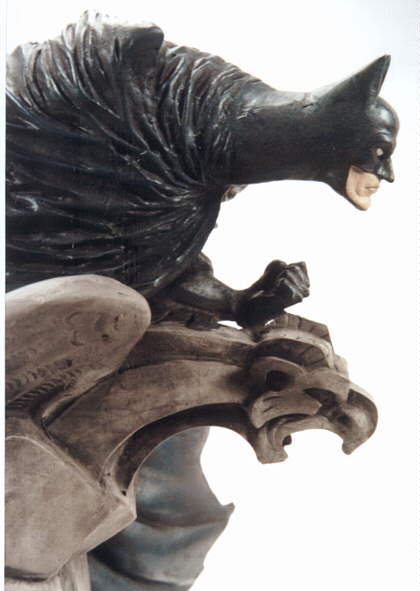
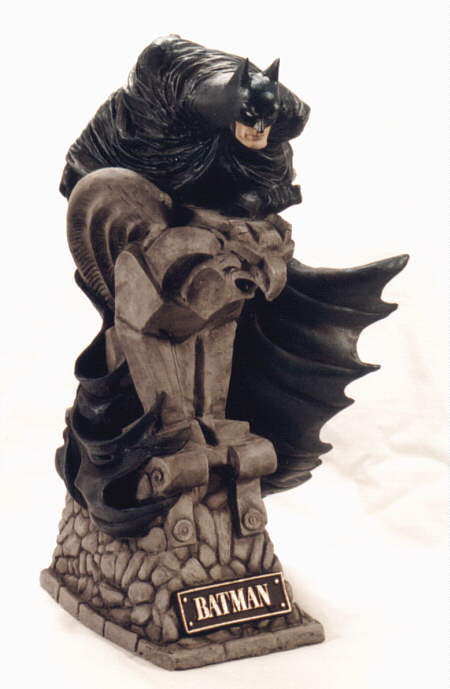
Much better. In addition to sanding the ears, I filled and smoothed little imperfections here and there. The primer really brings out the imperfections! To paint batman, I used a basecoat of flat black. I then lightly drybrushed Testors gunmetal on him. For the highest areas, I drybrushed with Tamiya metallic blue. For some reason, metallics do not photograph well as these pictures show. |
|
 |
|
The base took about 5 minutes to paint (excluding the nameplate). What I did was shade the base with washes of black directly on the primer. After all, the primer is a rock-gray color. To break up the wash, the 'stone' was blotted with a papertowel. You can achieve some interesting patterns this way. The nameplate was painted black and the lettering was painted using Testors Gold Enamel. |
|