
Painting realistic looking bone
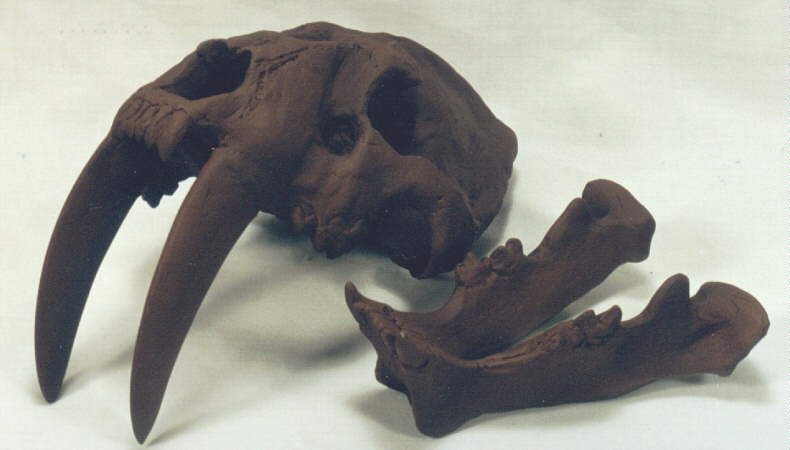
You do not see many articles on painting something to resemble bone, so I decided to show you how I do it. I will be using a Smilodon fatalis skull (Sabretooth Tiger) kit sculpted by Charlie McGrady of CM Studios. After cleaning and priming the skull, I basecoat the entire kit using a medium shade of brown. You can use a brush, but I prefer an airbrush because it is faster and produces a smoother finish. (Figure 1)
I seal my basecoat with Testors flat. When that is dry, I mix up a dark brown wash by mixing black and brown and thinning it with Polly-S airbrush thinner. I slosh this mixture all over the skull so that it seaps into all the cracks and crevaces. I have a paper towel ready to blot any excess on the skull.
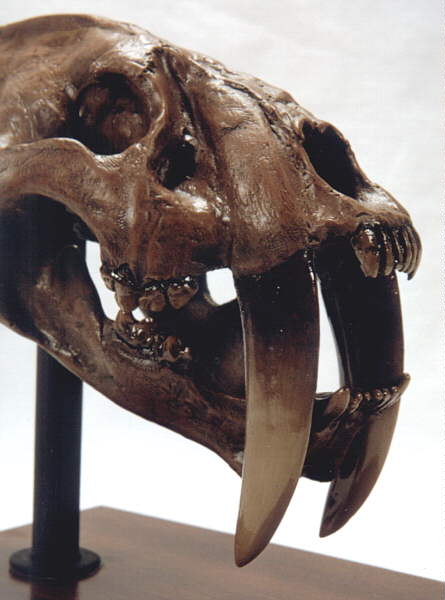
When the wash has dried, I will mix ivory into my original brown color and drybrush the skull. By drybrushing, I mean to have very little paint on your brush so that when you brush the skull, paint only sticks to the raised places. Most of the time, I will be pretty heavy handed with my drybrushing because if I do it too lightly, the bone will look too rough. You want texture, but not too much. Also, do not make the bone too light because this is a fossilized skull and not something that died yesterday. (Figure 2)
Teeth are harder than your average bone because of their enamel. Therefore, they will not be as weathered as the rest of the skull. I usually make teeth a lighter color and glossier than the skull. To start, I basecoat each tooth with tan. I then apply a dark brown wash to the teeth so that the base of each tooth is dark.
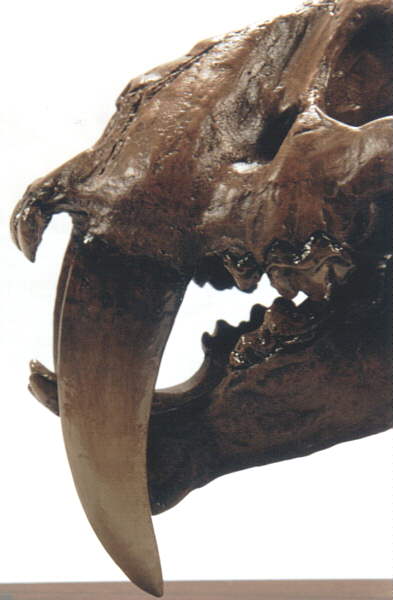
Teeth are then lightened by mixing ivory into the tan paint and drybrushing each tooth. Be careful not to make them too bright! Remember that this is are teeth that are thousands of years old. The sabre teeth needed to be grunged up some and some streaks applied, so I mixed up a brown wash and blotted in some color at the base of the teeth. While the wash is still wet, I take a large brush that resembles a powder puff and gently wipe the paint in a downward motion. A darker wash that was almost black was applied at the tops of the teeth and pulled down in a similar fashion. You want the general effect to be a tooth that starts dark at the top and gradually works its way down to a light ivory color at the bottom.
(Figure 3)
Now to give the bone some sheen. I thinned Tamiya clear gloss and gently misted the entire skull. You do not want to get it too shiny. The teeth were given a coat of gloss by brush. This will ensure that they are shinier than the skull. And there you have it. The finished skull.
(Figure 4)
Newer bone will of course be a lighter color. Just continue to increase the ivory color when you are drybrushing.
Any questions can be directed to: me