 |
 |
 |
 |
||
 |
||
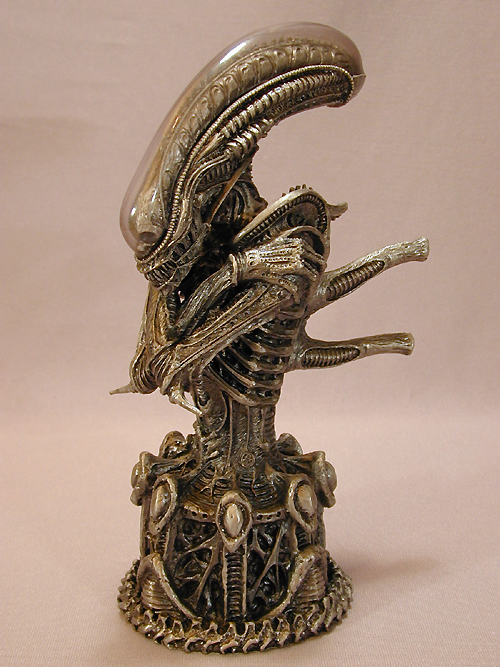
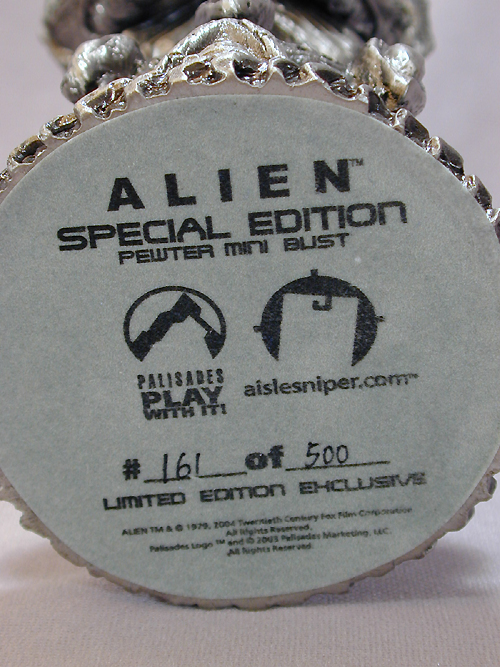
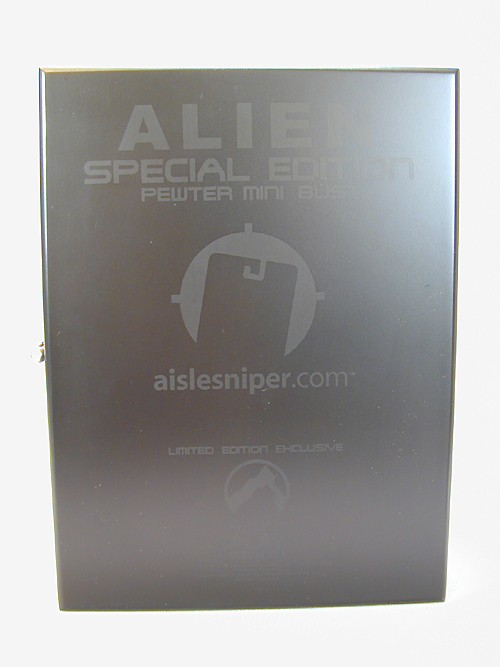
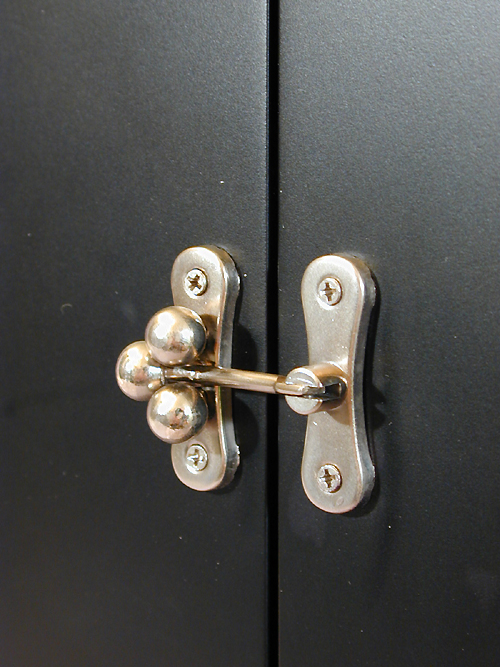
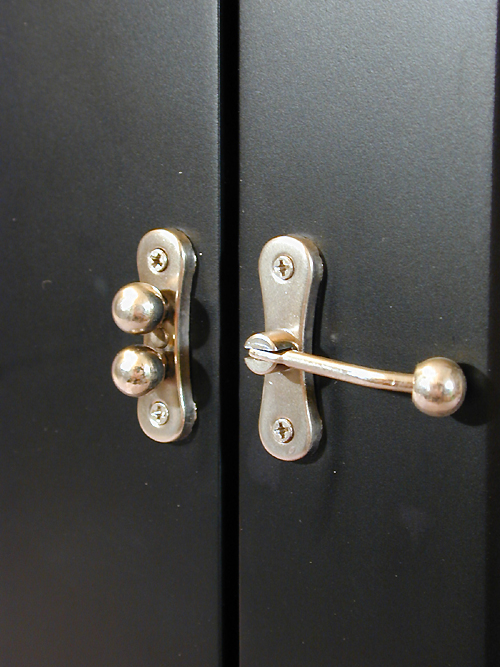
Finally got the Pewter Edition of the Special Edition in. The weight of the box caught me offguard! It was heavy! After carefully cutting the tape and opening the box, I was surprised to see that it had been double boxed. The inner box was suspended in the center by four styrofoam corner pieces. Very impressive indeed! After carefully cutting open the second box, I was treated to the usual Palisades alien box covered in a celophane bag. It turned into being like one of those wooden dolls where you open one and find a smaller one inside which opens to reveal a smaller one and so on and so on... The wooden case is very impressive and thick. The latch is a unique three ball design that keeps the lid securly closed. Nestled inside was the alien! Boy is it heavy! Typical pewter casting, the pic on the website looks better. There is a section that holds two cranium covers. I can only guess these are used in case the original gets cracked. They are pretty flimsy vacuformed pieces of plastic. The bottom is felt covered with the edition number. Overall, I'm pretty impressed with this statue. It can only appreciate in value.
T H E P R E P A I N T
 |
 |
| BEFORE | AFTER |
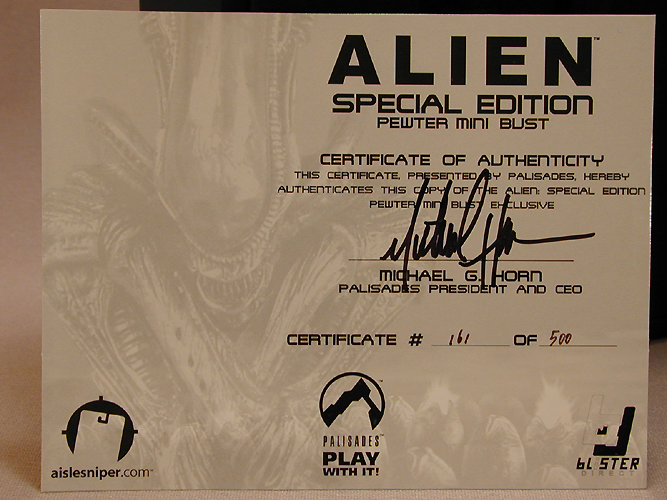
Got the Alien Special Edition the other day in the mail. I ordered the super-duper, special pewter version/regular version combo from Aislesniper , so I'm guessing the expensive one will come in later. At least it had better come! Lord knows I probably spent way more than I should have on these puppies. One thing that I have learned over the years, don't judge a statue by it's picture. I would say 99.9% of the time, what you see online is a picture of a meticulously painted prototype. What you actually get hardly ever lives up to what you envision in your mind before you get it.
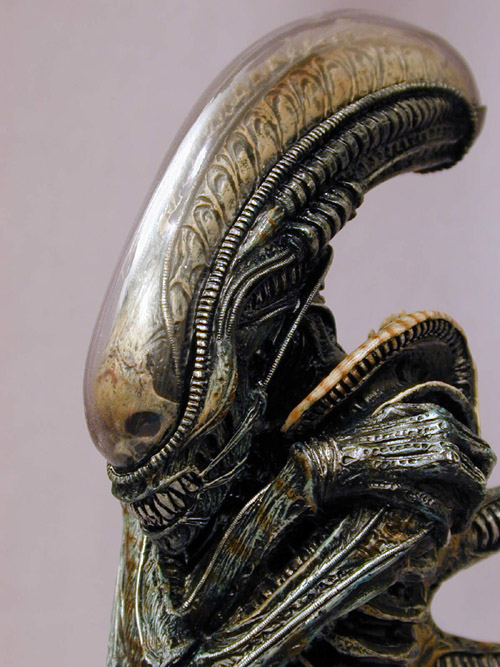
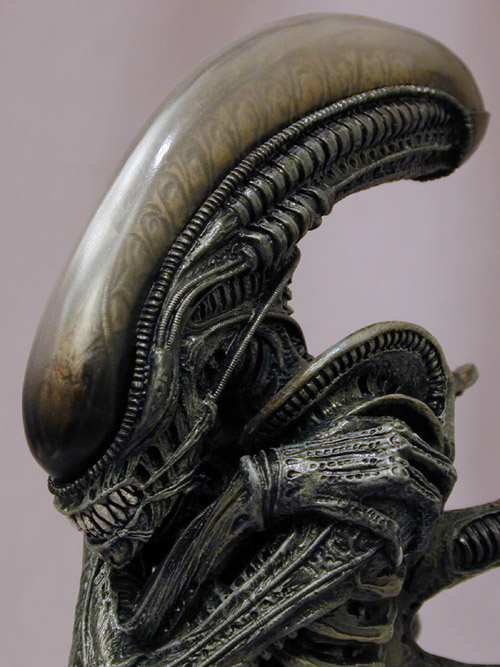
Let's take this statue for example. I was expecting him to be a little colorful with the color bands on the exhaust pipes, but I wasn't expecting the cream-colored pipes he ended up with. He also has a lot of teal-green streaks here and there. Luckily, the cranium was not that bad and that was a good thing because that clear plastic dome is glued on for life! Mine had a ridge on it which at first, I thought it was a crack in the plastic! After scraping it with my thumbnail, it eventually came off, so it was probably just a stray string of glue.
I had no intention of repainting this guy, but I felt that I had to this time around. To quickly get him more alien-esque, I loaded my airbrush with Freak Flex Body Bag Black. This black has a nice gloss to it which is perfect for this appliction. I started by misting the front and rear of the dome. This was done very gently so as not to obscure any detail underneath. I still like to see just a hint of the eye sockets underneath. The rest of the dome was then misted with Freak Flex Dead Guy Gray. The body was toned down with the Body Bag black, but I did not totally cover it. This let some of the weird patterns underneath still show through slightly.
The body was then drybrushed with varying shades of gray, green, and tan. The teeth were repainted with Testors Silver. The entire body, including the dome was then given a coat of Testors Clear Satin for that almost wet sheen. This easy modification took about three hours total and I think the result was well worth it. He definitely not as fru-fruey. :)
| BEFORE | AFTER |
| BEFORE
1 BEFORE 2 BEFORE 3 BEFORE 4 |
AFTER
1 AFTER 2 AFTER 3 AFTER 4 |
Any questions can be directed to: me